Create a project
A project keeps settings and anonymized storage together. Create it once in the desktop window, even if a server will later run headless.
Goal
Open a clean project with a storage folder and site identity ready for import.
Create a new project
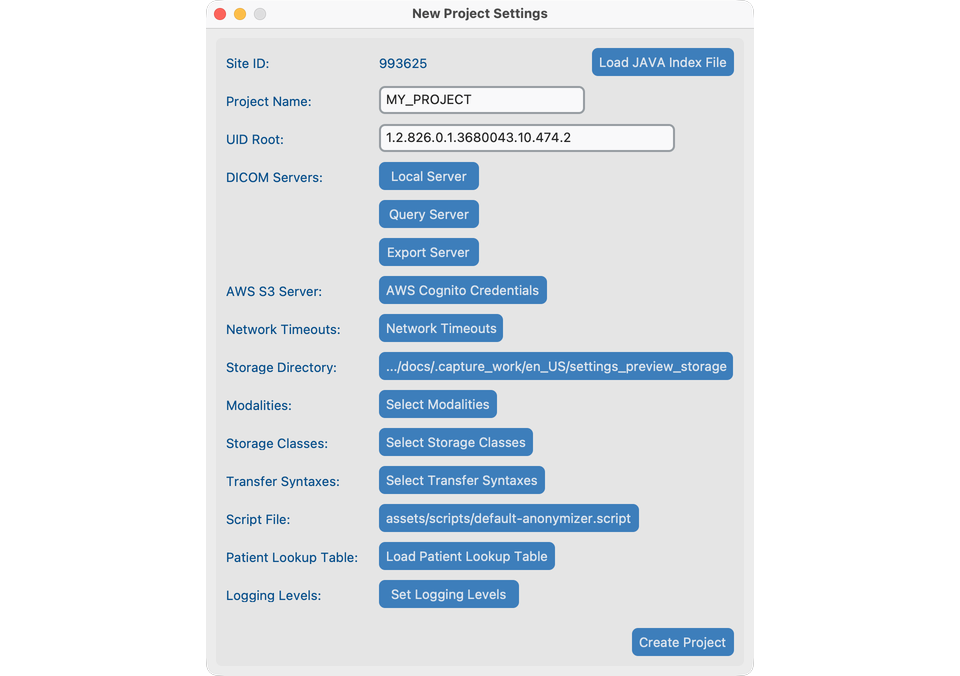
- From File → New Project, open New Project Settings.
- Choose a Project Name (short, under 16 characters) and confirm the Storage Directory.
- Review Site ID and UID Root (usually leave defaults unless continuing a Java Anonymizer site).
- Confirm modalities and network settings with IT if you will query a PACS.
- Save / create the project. The Dashboard opens.
Everyday project actions
| Action | How |
|---|---|
| Close | File → Close Project or close the window |
| Re-open | File → Open Recent |
| Clone settings | File → Clone into a new storage folder (no images copied). Keep UID Root unique across projects. |
What good looks like
- Dashboard shows your project name and Site ID.
- Storage directory exists and is writable.
- You can open the currently curated Dataset (empty until you import) by clicking View.
When you talk to IT
Share these ideas (details live in Project Settings dialogs):
- Local server — address, port, and AE Title this computer uses to receive images.
- Query server — the hospital archive you search and retrieve from.
- Export server or AWS — where anonymized studies will be sent.
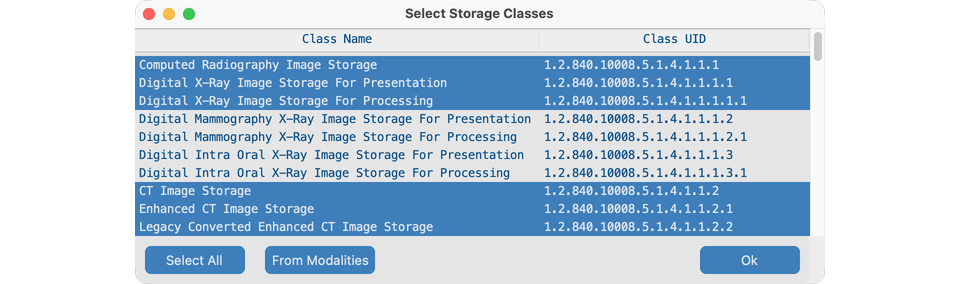
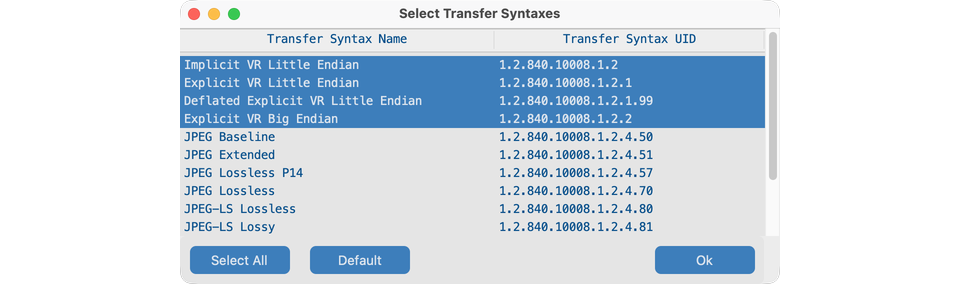
- Modalities / storage classes / transfer syntaxes — which image types are allowed.
- Network timeouts — how long to wait for slow archives.
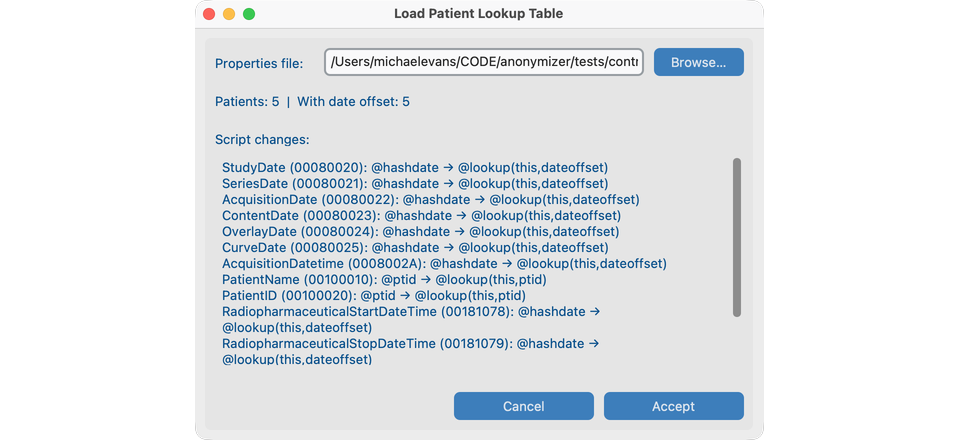
- Patient lookup table — optional CTP
.propertiesmapping for PatientID and Date shift (see Lookup table).
If the project will live on a lab server, continue with Run headless.
Project Settings (every control)
Open File → Project Settings (or New Project Settings when creating). Configure these before Search / Send:
Local Server
Address, port, and AE Title this computer uses to receive images.

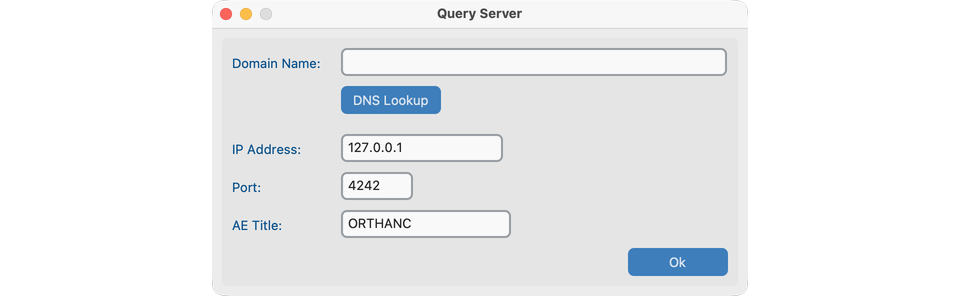
Query Server
Hospital archive used by Dashboard Search.
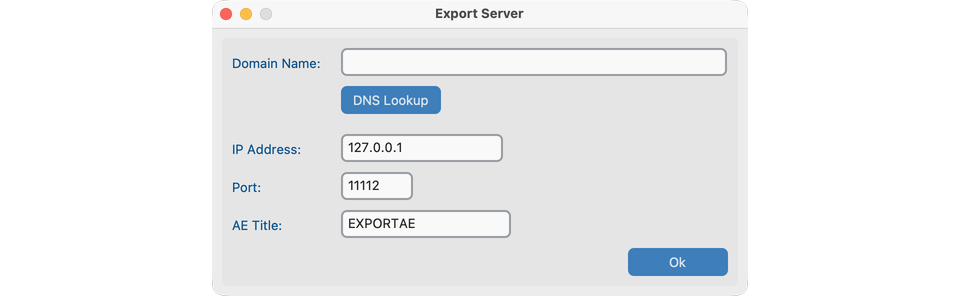
Export Server
DICOM destination used when you Send (settings label may still say Export Server).
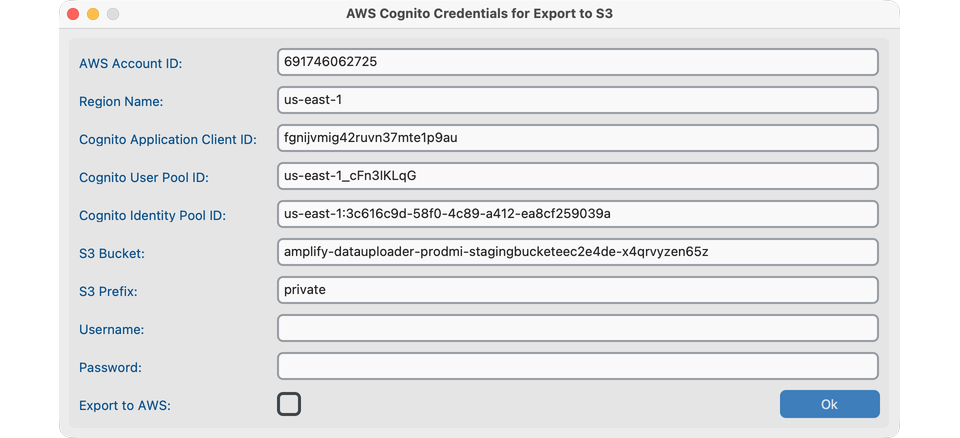
AWS Cognito (optional)
Credentials for S3 Send when enabled.
Network Timeouts
How long to wait for slow archives.

Modalities / Storage Classes / Transfer Syntaxes
Which image types and encodings are allowed.

Patient Lookup Table
Optional CTP .properties mapping of PHI patient IDs to anonymized IDs and date offsets. Browse → preview → Accept.
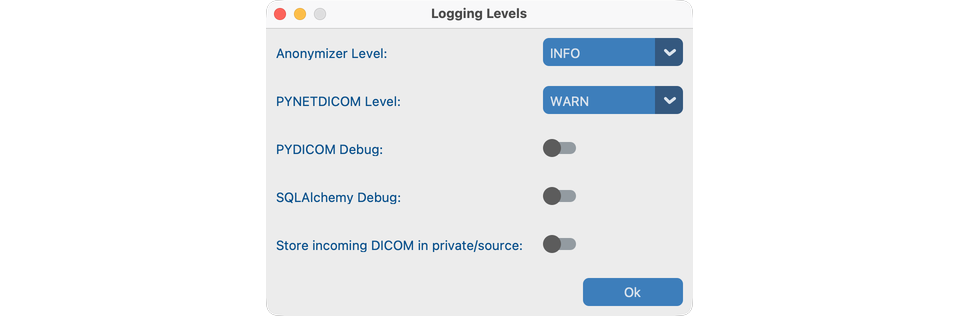
Logging Levels
Raise anonymizer / network logging when troubleshooting with IT.
Dashboard after create
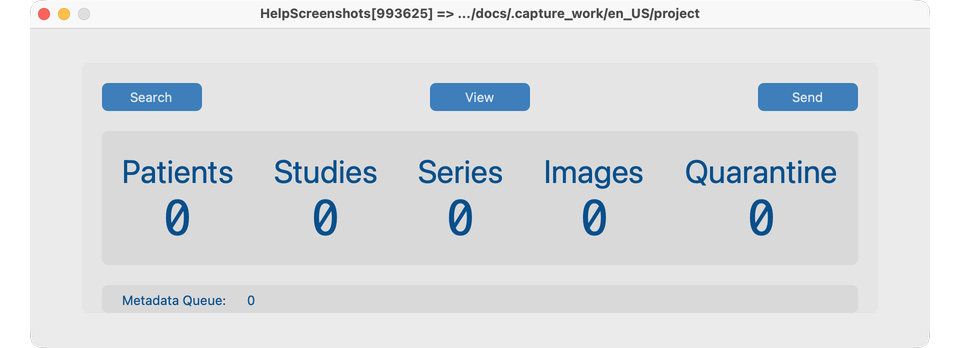
The Dashboard exposes the main workflow buttons: Search, View, and Send.
If it fails
- Storage path not writable → choose another folder.
- Name too long → shorten project name.
- Cloning warning about UID Root → use a unique root per project to avoid ID clashes.
Next steps
Continue with Search to import studies into the project.